2.7 KiB
PowerDNS-Admin
A PowerDNS web interface with advanced features.
Features:
- Multiple domain management
- Domain template
- User management
- User access management based on domain
- User activity logging
- Local DB / LDAP / Active Directory user authentication
- Support SAML authentication
- Google oauth authentication
- Github oauth authentication
- Support Two-factor authentication (TOTP)
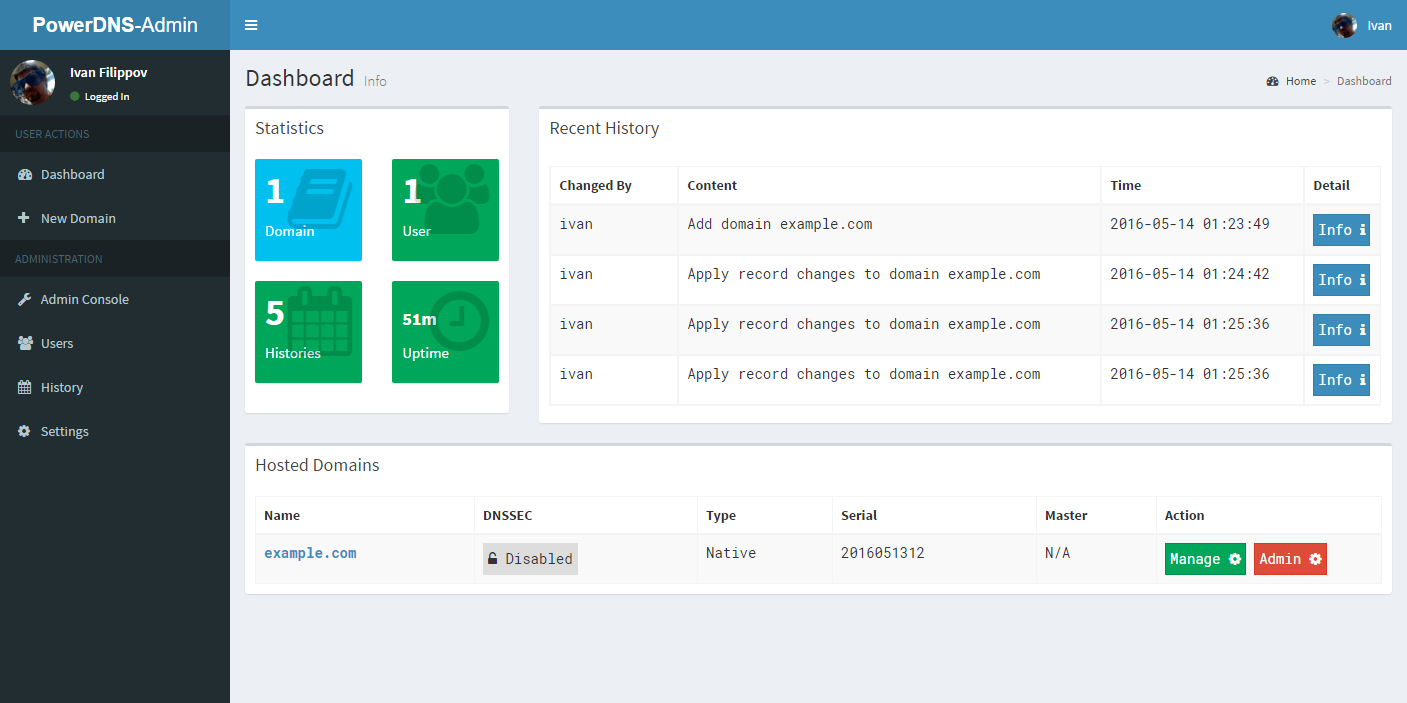
- Dashboard and pdns service statistics
- DynDNS 2 protocol support
- Edit IPv6 PTRs using IPv6 addresses directly (no more editing of literal addresses!)
Setup
PowerDNS Version Support:
PowerDNS-Admin supports PowerDNS autoritative server versions 3.4.2 and higher.
pdns Service
I assume that you have already installed pdns service. Make sure that your pdns.conf config file has these contents
PowerDNS 4.0.0 and later
api=yes
api-key=your-powerdns-api-key
webserver=yes
PowerDNS before 4.0.0
experimental-json-interface=yes
experimental-api-key=your-powerdns-api-key
webserver=yes
This will enable API access in pdns service so PowerDNS-Admin can intergrate with it.
Create Database
We will create a database which used by this web application. Please note that this database is difference from pdns database itself.
PowerDNS-Admin supports MySQL server, Maria DB, PostgresQL and SQL Lite.
MariaDB [(none)]> CREATE DATABASE powerdnsadmin;

MariaDB [(none)]> GRANT ALL PRIVILEGES ON powerdnsadmin.* TO powerdnsadmin@'%' IDENTIFIED BY 'your-password';
Running PowerDNS-Admin
There are several ways to run PowerDNS-Admin. Following is a simple way to start PowerDNS-Admin with docker in development environment.
Firstly, let's edit configs/developments.py configuration file.
Secondly, build the docker image of PowerDNS-Admin
$docker-compose -f docker-compose.dev.yml build
Finally, start it
$ docker-compose -f docker-compose.dev.yml up
You can now access PowerDNS-Admin at url http://localhost:9191
NOTE: For other methods to run PowerDNS-Admin, please take look at WIKI pages.


