(cherry picked from commit 6e5b704)
PowerDNS-Admin
PowerDNS Web-GUI - Built by Flask
Features:
- Multiple domain management
- Local / LDAP user authentication
- Support Two-factor authentication (TOTP)
- User management
- User access management based on domain
- User activity logging
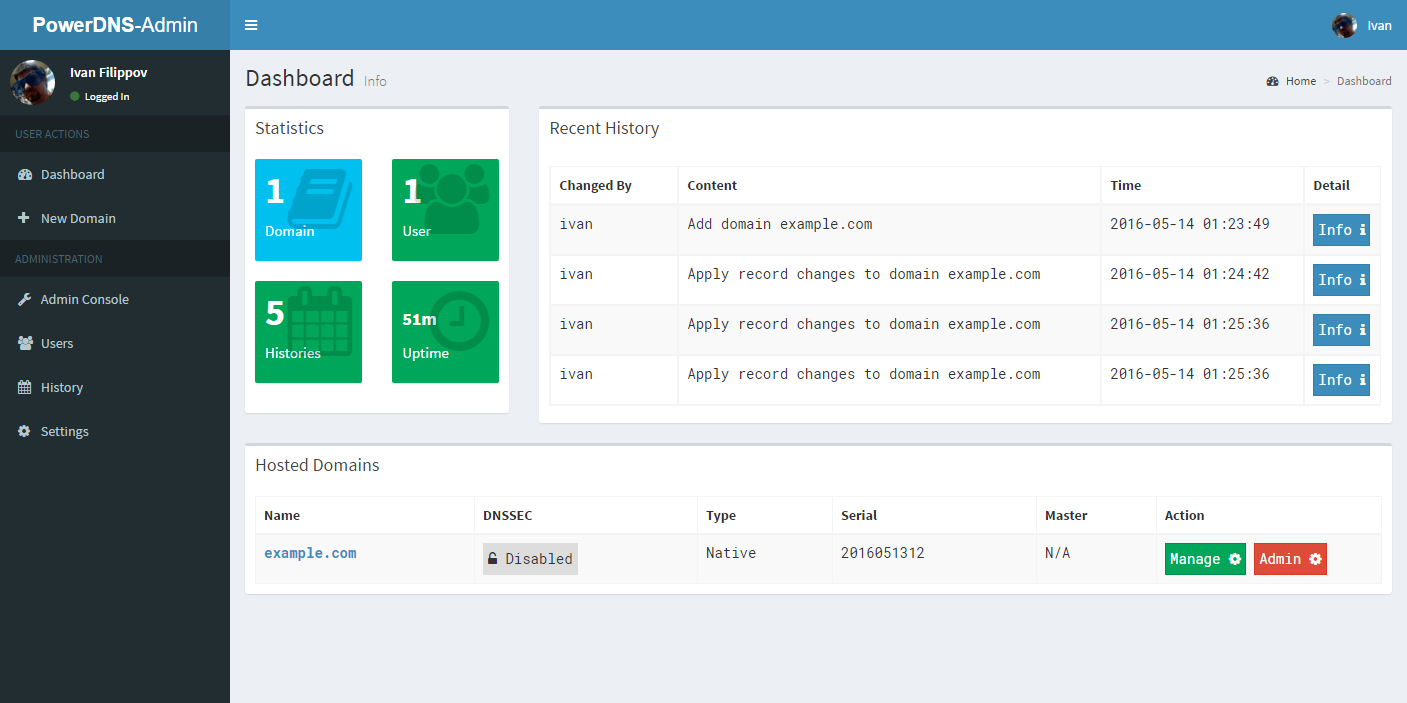
- Dashboard and pdns service statistics
- DynDNS 2 protocol support
- Edit IPv6 PTRs using IPv6 addresses directly (no more editing of literal addresses!)
Setup
PowerDNS Version Support:
PowerDNS-Admin supports PowerDNS autoritative server versions 3.4.2 and higher.
pdns Service
I assume that you have already installed powerdns service. Make sure that your /etc/pdns/pdns.conf has these contents
PowerDNS 4.0.0 and later
api=yes
api-key=your-powerdns-api-key
webserver=yes
PowerDNS before 4.0.0
experimental-json-interface=yes
experimental-api-key=your-powerdns-api-key
webserver=yes
This will enable API access in PowerDNS so PowerDNS-Admin can intergrate with PowerDNS.
Create Database
We will create a database which used by this web application. Please note that this database is difference from pdns database itself.
You could use any database that SQLAlchemy supports. For example MySQL (you will need to pip install MySQL-python to use MySQL backend):
MariaDB [(none)]> CREATE DATABASE powerdnsadmin;

MariaDB [(none)]> GRANT ALL PRIVILEGES ON powerdnsadmin.* TO powerdnsadmin@'%' IDENTIFIED BY 'your-password';
For testing purpose, you could also use SQLite as backend. This way you do not have to install MySQL-python dependency.
PowerDNS-Admin
In this installation guide, I am using CentOS 7 and run my python stuffs with virtualenv. If you don't have it, lets install it:
$ sudo yum install python-pip
$ sudo pip install virtualenv
In your python web app directory, create a flask directory via virtualenv
$ virtualenv flask
Enable virtualenv and install python 3rd libraries
$ source ./flask/bin/activate
(flask)$ pip install -r requirements.txt
Web application configuration is stored in config.py file. Let's clone it from config_template.py file and then edit it
(flask)$ cp config_template.py config.py
(flask)$ vim config.py
Create database after having proper configs
(flask)% ./create_db.py
Run the application and enjoy!
(flask)$ ./run.py


